Monday, 25 June 2012

Fresh pasta

Yes, that's right... I made pasta! With my own fair hands!


With mum out of the country and a few days off post-exams (highers ma lyf!)  what else was I to do! Admittedly, it may not have been the best idea as by the time I was finished, flour was covering every single surface and I was heading out the door straight after dinner, leaving dad to clean up. (Mwahahahaha - simple pleasures, people, simple pleasures!)


One slight problem that I didn't take into account. That expanding pasta thing. The recipe said that a pasta roller was necessary. Naturally, I decided that a simple rolling pin would do a good enough job, but alas, that was not the case! When they cooked, the majority turned into chewy, starchy doughballs, while there were a few which although initially appearing too thin, were actually pretty nice!


Taken straight from bbc food, apart from the lack of pasta roller (oops)

Ingredients:
300g plain flour
3 eggs
1 tbsp olive oil

Place the flour, eggs and oil in a food processor and pulse until combined.
Turn the dough out onto a lightly floured surface and knead briefly until smooth. Cut the dough aside in half and set one piece aside.
Roll out one piece until 1cm thick and then feed it through a pasta machine. Start on the thickest setting, passing the sheet through several times and lowering the setting until it reaches the thinnest setting. Slice the pasta sheet into ribbons 1cm wide. Repeat the process with the rest of the dough.
Rather than cutting into strips, I used a flower cookie cutter instead, to try and make some kind of a shell shape, which didn't quite work, but it wasn't completely awful! 
Cook until, well, cooked.

UPDATE - I got a pasta roller for Christmas. Attempt 2 to follow!! 

Monday, 9 April 2012

Leek and potato soup

Just a month and a half after the event... School succeeded in stealing every single second of free time that I might have had since mid-February. Still, it'll be worth it in the end. At least, it had better!

When it comes to soup, there are two types that I would go for, if given the chance. The first is home-made leek and potato, and the second is Heinz cream of chicken. Simple as they both seemed upon initial inspection, I figured that I could give some home made soup a bash.


However, there were a number of things that I didn't factor in.
1) my inability to chop up anything like onions, leeks, spring onions etc without turning into a sobbing wreck (apparently crying over leeks isn't normal...) and
2) the slight inaccuracies/options given in the recipe - with even the slightest bit of skill, anyone would be able to decide whether or not to put in 8 or 10 leeks, as evidently it depends on the size of them. Regrettably, I am not in possession of the slightest bit of skill and so didn't adjust the water content accordingly.


In spite of the 'soup' ending up as more of a stew (affectionately termed a stoup, by the fam) and the mildly disturbing lack of green-ness, as the life seemed to bleed out of it, it did taste nice, and was the perfect winter warmer for those frosty February days.


Ingredients:
8-10 leeks, finely sliced (roughly 1cm rounds)
8-10 potatoes, diced
3 chicken stock cubes in 1 litre of boiling water

1) Sauté leeks and potatoes in butter in large saucepan until almost soft, for approx 15-20 mins.
2) Add chicken stock, cover and simmer, for roughly 45 mins. Note: I think that this stage may have been what caused the brown-ness - I may have  definitely burnt some of the veg by having the heat too high, and not stirring it every so often, to stop it from sticking to the bottom. My bad.
3) Mash or liquidise (prime opportunity for splash back burns...) and season to taste.
Alternatively, leave it super bland and just put some salt and pepper on the table - a safer option if you're anything like me and tend to lose control of your hand every single time you try to shake salt and/or pepper into food.

Sunday, 12 February 2012

Blueberry muffins

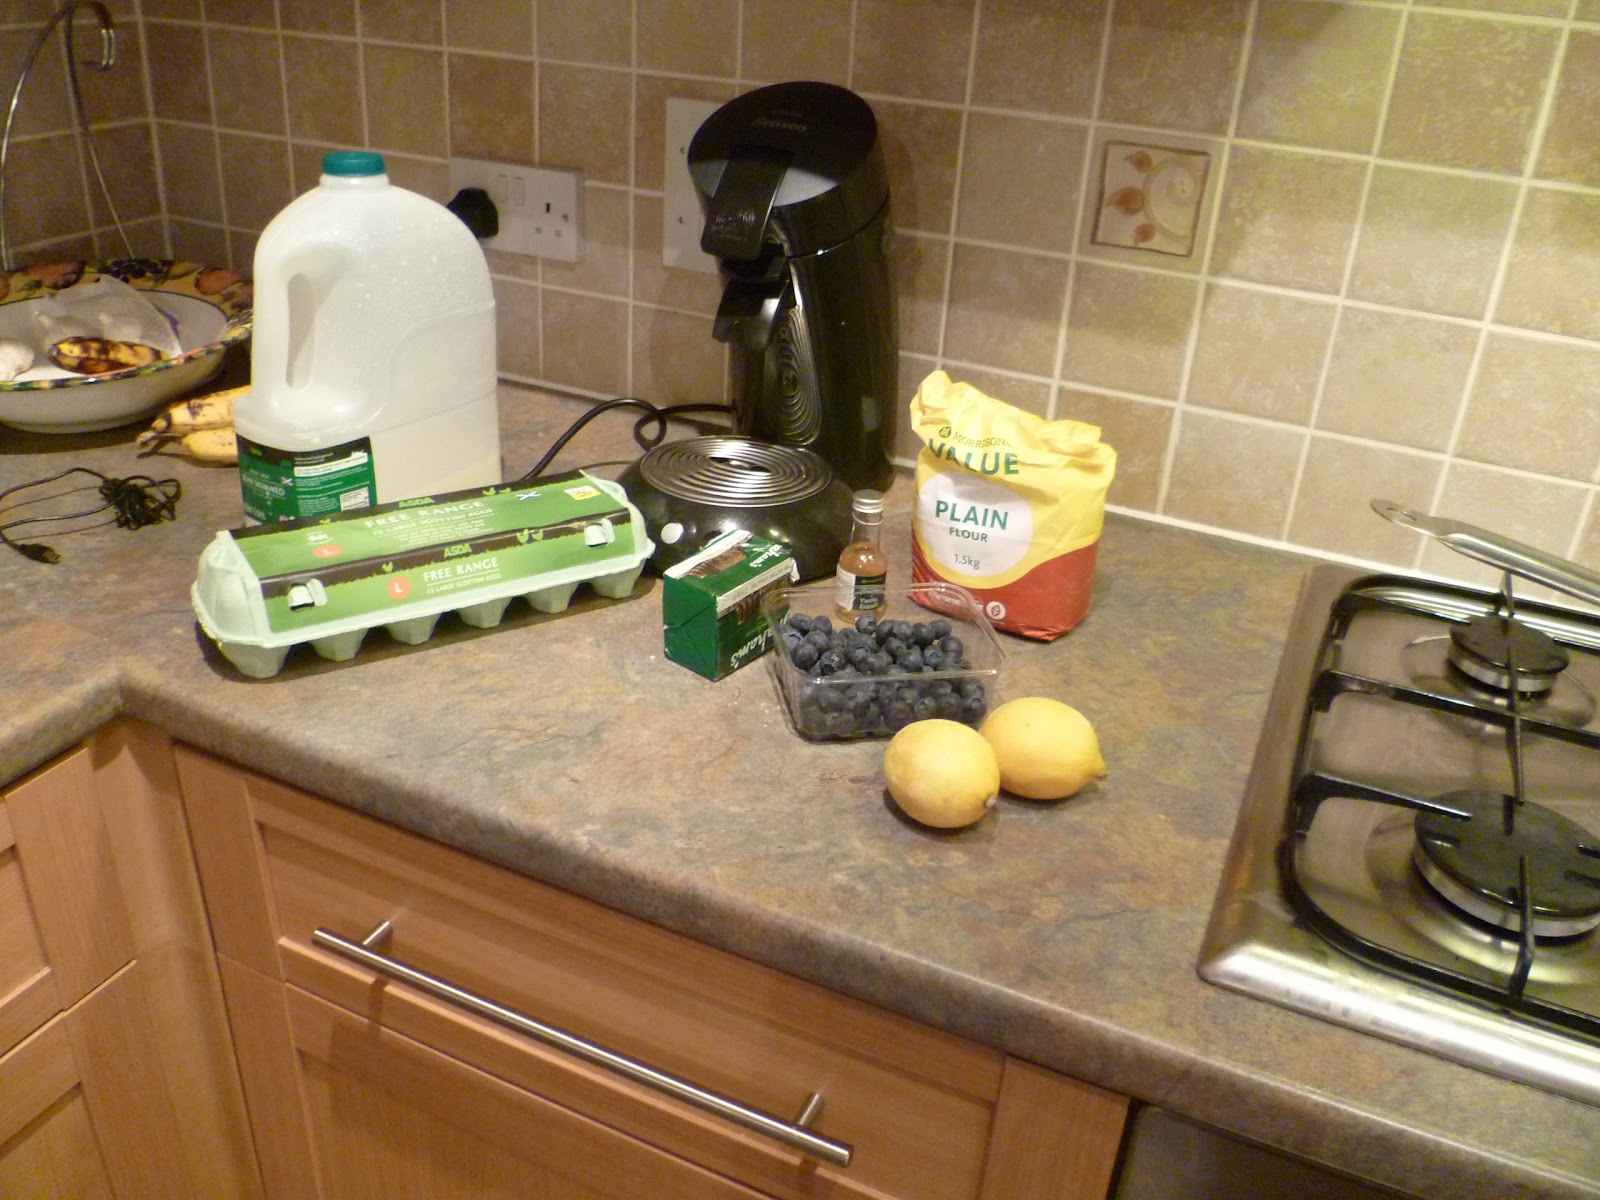
Does food ever seem to just stare at you every time you look in the fridge? There have been blueberries in the fridge for the last week or so, and after seeing them for one day too many, these muffins finally ended up in the oven.


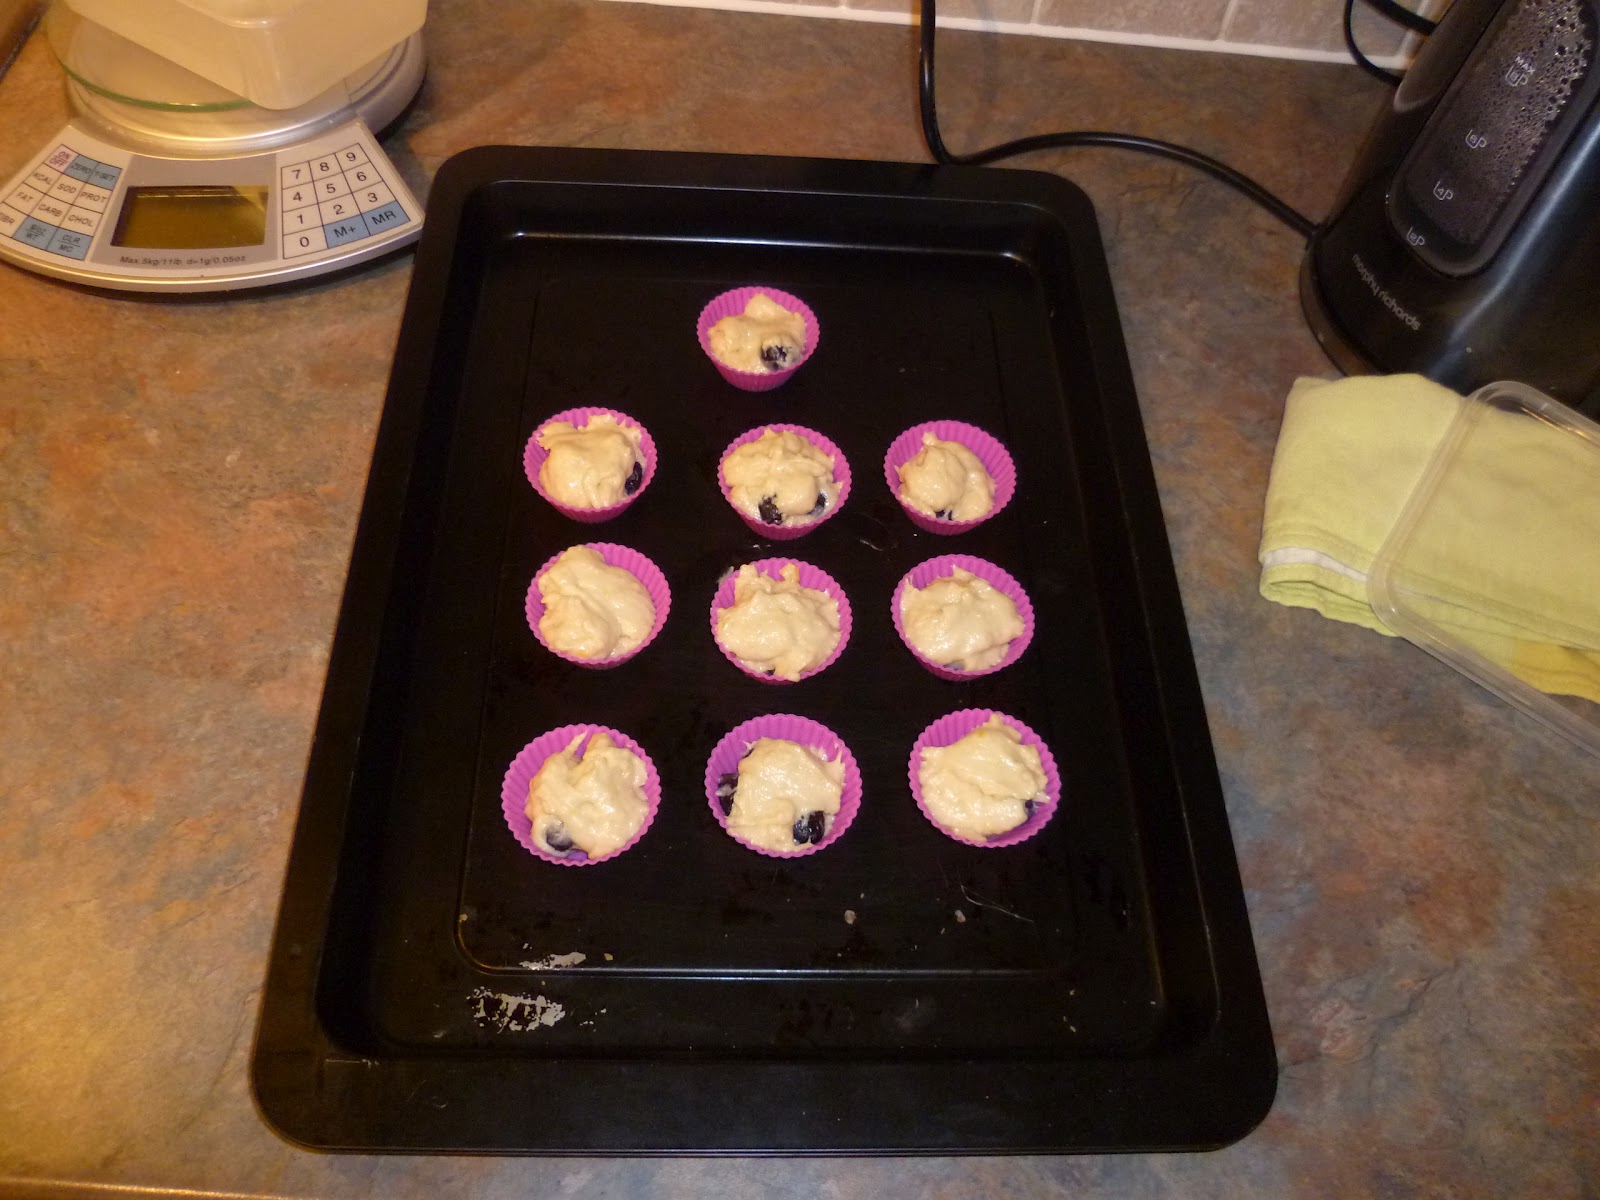
Despite the fact that they are not terribly uniform, due to my less-than-exemplary spooning-into-cases skills, the  bake was actually pretty reasonable, the rise was good and the blueberry flavour came through well.


However, I think that they could have done with more sugar, and perhaps the extra sweetness would make them a bit nicer. To be fair though, when they first came out of the oven, they were very nice, if a little tart, but the next day they were more like rocks than airy muffins.


On another note, the batter seemed to go on forever and I had enough to make some little ones (but they really were like pellets and/or bullets!)

From the crazy wee cupcake calendar thing which provides lovely pictures that are nothing like what mine ended up like...

Ingredients:
1/2 cup caster sugar
1 tbsp grated lemon zest (took roughly the zest of 1 lemon to get that much for me)
2 1/2 cups plain flour
1 tbsp baking powder
2 lightly beaten eggs
1 cup milk
1 stick unsalted butter, melted
1 tsp vanilla extract
2 cups fresh/thawed blueberries

1. Preheat the oven to 200.C and line a cupcake pan with cases.
2. Stir the sugar, lemon zest and baking powder with a spoon, in a medium bowl. Beat the eggs, milk and vanilla in a large bowl with an electric mixer until smooth, which takes about a minute. Add the dry ingredients to the eggs and stuff (technical term!) and stir until the blueberries are just combined.
3. Spoon the batter into the cases.
4. Bake in the oven for 20 minutes. Remove the tray from the oven and cool for 5 minutes.
5. Serve immediately (as they really really really don't keep that well).

According to the recipe, you can store them in an airtight container for up to 2 days, or freeze for up to 3 months, but I would take that little nugget of information with a pinch of salt ...

Saturday, 4 February 2012

Haggis with a camembert sauce

I know, I know. It sounds completely bizarre and potentially disgusting but this is the best way to have haggis. With a bit of distance between now and Burns' Night (25.01), there's even the possibility that the haggis will be on offer in the supermarket!


This is the one and only way that I actually like haggis - the sauce is creamy and cheesy and mild enough to take the spicy bite out of the meat.


I was trying to think of what else to add to this but, actually, my cold-riddled brain is struggling to string two words together. I didn't even manage to follow the soppy romance that I attempted to watch earlier, so with that show of complete and utter incompetence: over and out!


Ingredients:


  • enough couscous for however many people you're feeding
  • 1 round camembert
  • 500ml single cream
  • 1 haggis (should probably be enough for 4ish)
First, pop the haggis in the microwave (sophisticated, I know) - it took about three and a half minutes in ours - cooking it until it's warmed right through. Cook the couscous (plain, with none of that vegetable nonsense) and leave to sit. Scrape the rind stuff off the camembert, chop up into chunks and melt in a pan along with the cream. When the sauce is ready, it should be hot and mainly melted down, but there may be some little lumps of cheese left - really, it's up to you how long you can bear to wait! 
Simple but effective, that's what this is! 

Thursday, 26 January 2012

Ruth's Jumanji chicken (or delicious chicken and broccoli bake)

There is a time when you just think enough is enough. Amazingly, it is only possible to work for so long before your tear ducts dry up from the sobbing that accompanies quotation learning, and formulae memorising, and your fingers begin to go into spasm from the death grip you had on your pen. 

That time came last Saturday evening, and this meal was the result. The recipe had been sitting on my desk for at least two weeks, and the ingredients in the fridge for a couple of days before I finally pulled my finger out and got in the kitchen. As a result of the extremely slow speed at which I work, this took an hour to get from chopping board to table. 

Just as an aside, I think that my photography skills are somewhat lacking but hopefully with practice ... 


Enjoy!

Ingredients

chicken breasts (roughly one per person) - diced or cut up into strips
broccoli (chopped up roughly) - enough to lay the bottom of casserole dish
cream of chicken soup (depends on size of dish - took two cans for mine - needs to be enough to cover broccoli and chicken once it's layered in the dish)
1 tbsp mayonnaise - never changes
1 - 2 tbsp curry powder 
1 tsp lemon juice (optional)
ready salted crisps - enough for crispy topping
grated cheddar cheese - also for topping
1 crushed garlic clove and butter for greasing

Doesn't even take ten steps! Success!
1. Stir fry chicken.
2. Steam/cook broccoli - 3 and 1/2 minutes in the microwave did the job for me
3. Rub garlic and butter round your dish
4. Layer broccoli and chicken in dish
5. Mix soup, curry powder, mayonnaise (and lemon juice) together
6. Pour mixture over chicken and broccoli 
7. Crush crisps to form a top crust over mixture and top with grated cheese
8. Cook in the oven at about 180.C - 200.C until the cheese is melted and brown and topping      is crunchy
9. Leave to sit for a couple of minutes and then serve. 

Honestly, it's delish! 

Saturday, 21 January 2012

Meaty cheesy pasta bake

Due to the time-constraining effects of prelim revision, this quick and easy dish was feasted on by us last week but is only now finding its rightful place on the blog. According to the official Delia recipe it is technically supposed to have bacon and leeks but as it was a last minute decision, there was a serious lack of wintery vegetation in the fridge. As a result, this two meat pasta was created. Yes, that’s right – two types of meat!


On another note, napkin folding may soon become a new hobby...


Originally from one of the many Delia books in the house.

Serves 8 (or 4 for 2 nights – handy!)

500g pasta (personally I like using penne, but other pastas like macaroni or fusili would would just as well)
6 or 8 slices of bacon
1 smoked sausage (cabanossi from Lidl works really well)
50g butter (either unsalted or salted will do, but I used unsalted due to the saltiness added by the sausage)
50g plain flour
200g cheddar cheese with extra for topping
850ml milk
3 tbsp double cream
some nutmeg (which I didn’t bother with)
roughly 50g ready salted crisps

Melt the butter in a pan, and mix in the flour. Add the milk to this mixture gradually until the sauce thickens. Then add the cheese, grated, to the sauce until it’s melted through.
While the sauce is thickening, cut up the bacon and chop the sausage and fry them together.
Boil the pasta for 10 minutes and then put it straight in the dish.
Mix the meat through and pour the sauce over.
Lastly, add the smashed-up crisps and sprinkle cheese over the top and pop it in the oven at approximately 180.C – it should take about half an hour to forty-five minutes until the cheese is crispy on top (should really be a bit darker than in the photo, but we were running to a deadline...) 

Tuesday, 3 January 2012

Vanilla cupcakes with orange

As a result of a multi-family cupcake baking contest, tonight's task was created. The initial plan was for lemon cupcakes, but that plan was dismissed before it had fully formed due to two things: 1) there were no lemons in the house and 2) there wasn't even enough lemon juice in the squeezy bottle to make a difference.

The fall-black plan was to use the afore-mentioned pitiful amount of squeezy lemon juice to make some lemon icing but once again, there was simply not enough.


Fortunately a new plan quickly took shape - simple but delicious vanilla cupcakes with orange flavoured (and potentially also coloured) icing. Furthermore, in order to allow for the varying degrees of 'icing acceptance' in my family, I used both normal icing and buttercream. Sometimes it's better to just put up with the extra faff than to try to field the disappointment later!


These were taken from Kate Shirazi's cupcake book, "Cupcake Magic"

To make 12 cupcakes:
110g (4oz)self-raising flour, sifted
110g (4oz)caster sugar, sifted
110g (4oz) margarine - I used butter instead
1 tsp baking powder
2 large eggs - I used 3 medium eggs, but I think that it might have been a little too eggy
1 tsp vanilla extract


  1. Preheat the oven to 160.C (or 325.F) 
  2. Simply mix all of the ingredients until the mixture is light and fluffy. 
  3. Pop heaped teaspoons of the mixture into the cupcake cases and bake in the oven for approximately 20 minutes. 
  4. Once out of the oven, place on a wire rack to cool.
For the buttercream, (for 12 cupcakes) combine 225g of icing sugar with 100g of (unsalted) butter, until it's light and fluffy. Then just add orange extract (or orange juice and zest, if you want to be really fancy) and combine. At this point, I always like to add some food colouring (too much yellow turns it orange, funnily enough!) as you can't go wrong with a bit of colour! 

If buttercream is not your thing then just go for some normal icing - adding orange extract to taste, and a liberal amount of food colouring, although too much has the potential for some garish, wholly hideous, eye-assaulting excitement - suit yourself basically! 

Enjoy!