Showing posts with label Sweet. Show all posts

Saturday, 13 October 2012

Strawberry and white chocolate cheesecake

BBC Good Food... yas, man. I kid you not, sad as this may sound, I think that this is my favourite website!


Perhaps it's a sign of my skill level that this turned out well - no oven use necessary, just a bit of sneaky fridg-ing/freezer-ing. While the cheesecake didn't take all that long to prepare, it did require a good amount of setting time and due to time constraints, had to get chucked in our freezer. I took it out of the freezer about half an hour before serving and put it into the fridge for a final twenty-five minutes.


Although fairly sweet, its not aaaah-my-teeth-are-going-to-fall-out sweet so it worked well after dinner. The best thing is, though, you can put it back in the fridge after the meal if there is any left at all!


Ingredients:
175g shortbread biscuits (digestives worked well)
50g unsalted butter, softened
200g melted white chocolate
300g medium fat soft cream cheese (i.e. Philly <3 )
200g fromage frais
225g roughly chopped strawberries

1) Crush the shortbread biscuits until they resemble bread crumbs. Mix the biscuit crumbs together with the softened butter and press firmly onto the base and sides of a 20cm springform tin. Refrigerate until needed. Melt the white chocolate in a bowl in the microwave and set aside until needed.
2) Beat together the cream cheese and fromage frais until smooth and thick. Add the strawberries to the cheese mixture with the melted chocolate and mix. Spoon the cheesecake filling onto the biscuit base. Level the top and chill for about 4 hours until set. (With freezer use, 2.5 hours is just about long enough!)

Saturday, 6 October 2012

Orange cake (Meg's favourite, apparently!)

I don't profess to be a proficient baker. Truth be told, I never stray much further than the occasional batch of cupcakes and a tray bake. Not this time though! Oh no, for the first time ever I made an actual cake. As in an actual three layer cake. (In spite of the fact that only two are visible here, I did bake three - the only problem was that I have but two cake tins.)


Taste: good.
Presentation: shocking.
My bad!

Obviously, actually icing a cake is a skill that requires development and practice. Clearly I have yet to participate in such practice! I'm just thankful that lil sis had left her glasses upstairs when I put the cake on the table - no scathing comments for me!


This recipe comes from http://theredspoonblog.com/2011/08/megs-favorite-orange-cake/ - definitely worth a look!

Ingredients:
 2 1/2 cups of plain flour                                              1 stick butter, softened
1 3/4 cups of sugar                                                      680g cream cheese
1 1/2 tsps bicarbonate of soda                                     1/4 cup fresh orange juice
1 tsp baking powder                                                    4 cups icing sugar
1/2 tsp salt
1 cup vegetable oil
1 cup fresh orange juice
3 large eggs
1 cup sour cream

1. Preheat the oven to 180 degrees and line 3 9-inch cake tins with baking parchment. In a large bowl, sift together flour, sugar, bicarb, baking powder and salt before adding the oil, orange juice, eggs and sour cream. Beat at a medium speed with an electric mixer until smooth. Pour into the cake tins and bake for 20-25 minutes or until a wooden prick inserted into the centre comes out clean. Let the cakes cool in the pans for 10 minutes before removing and letting them cool completely on wire racks. 
2. In another large bowl, beat the butter and cream cheese for the icing at medium speed until creamy. Add the orange juice, beating until combined and then gradually add the icing sugar, beating until smooth. 
3. For assembly, check out www.theredspoonblog.com/2011/08/megs-favorite-orange-cake since I am evidently completely incapable of doing a good job! With a bit of skill, that I do not possess, this is how beautiful the cake can look! 


Tuesday, 26 June 2012

Malteser tiffin

Part two of the day when I made a monumental mess in the kitchen. This, however, was faff-less. Delicious, and properly edible. Perhaps that's because I actually followed the recipe for once, and bothered to do it the right way. In fact, perhaps that's something that I ought to be doing more often: try the recipe by following all of the instructions the first time and just changing things afterwards. A novel idea, I think, but to be honest, it's just too tempting to change things. Still, I'll keep working at it, and maybe my cooking will be better at the end of this year than it was in January. Maybe.


Another BBC good food recipe...


Ingredients:
200g milk chocolate
100g unsalted butter
2tbsp golden syrup
125g digestive biscuits
135g Maltesers
For the topping:
200g milk chocolate
25g unsalted butter
1tsp golden syrup

Line a 20cm baking tray with baking parchment. Place the 200g of chocolate, butter and syrup in a heat proof bowl and melt over boiling water or microwave. (I now know that it is necessary to stir chocolate periodically when microwaving it, lest it burn to a crisp - I'm just chuffed that I bought extra chocolate, just in case!) Once almost melted, remove from the heat and gently stir until any tiny bits of chocolate have melted. Allow to cool a little.
Place the biscuits and 35g of the maltesers in a sandwich/freezer bag and crush with a rolling pin, until it's mainly crumbs, but a few chunks won't do any harm!
Mix the crushed mixture and the whole maltesers in with the melted chocolate and stir it in until everything is coated. Press into the prepared tin and then make up the topping.
Melt the chocolate, syrup and butter as before for the topping, and spread it over the biscuit base.
If you have a bit of white chocolate, you can just melt a bit over the top for that little something extra.
Cover the tin with cling film or tin foil and fridge for an hour or two before cutting into squares. 

Sunday, 12 February 2012

Blueberry muffins

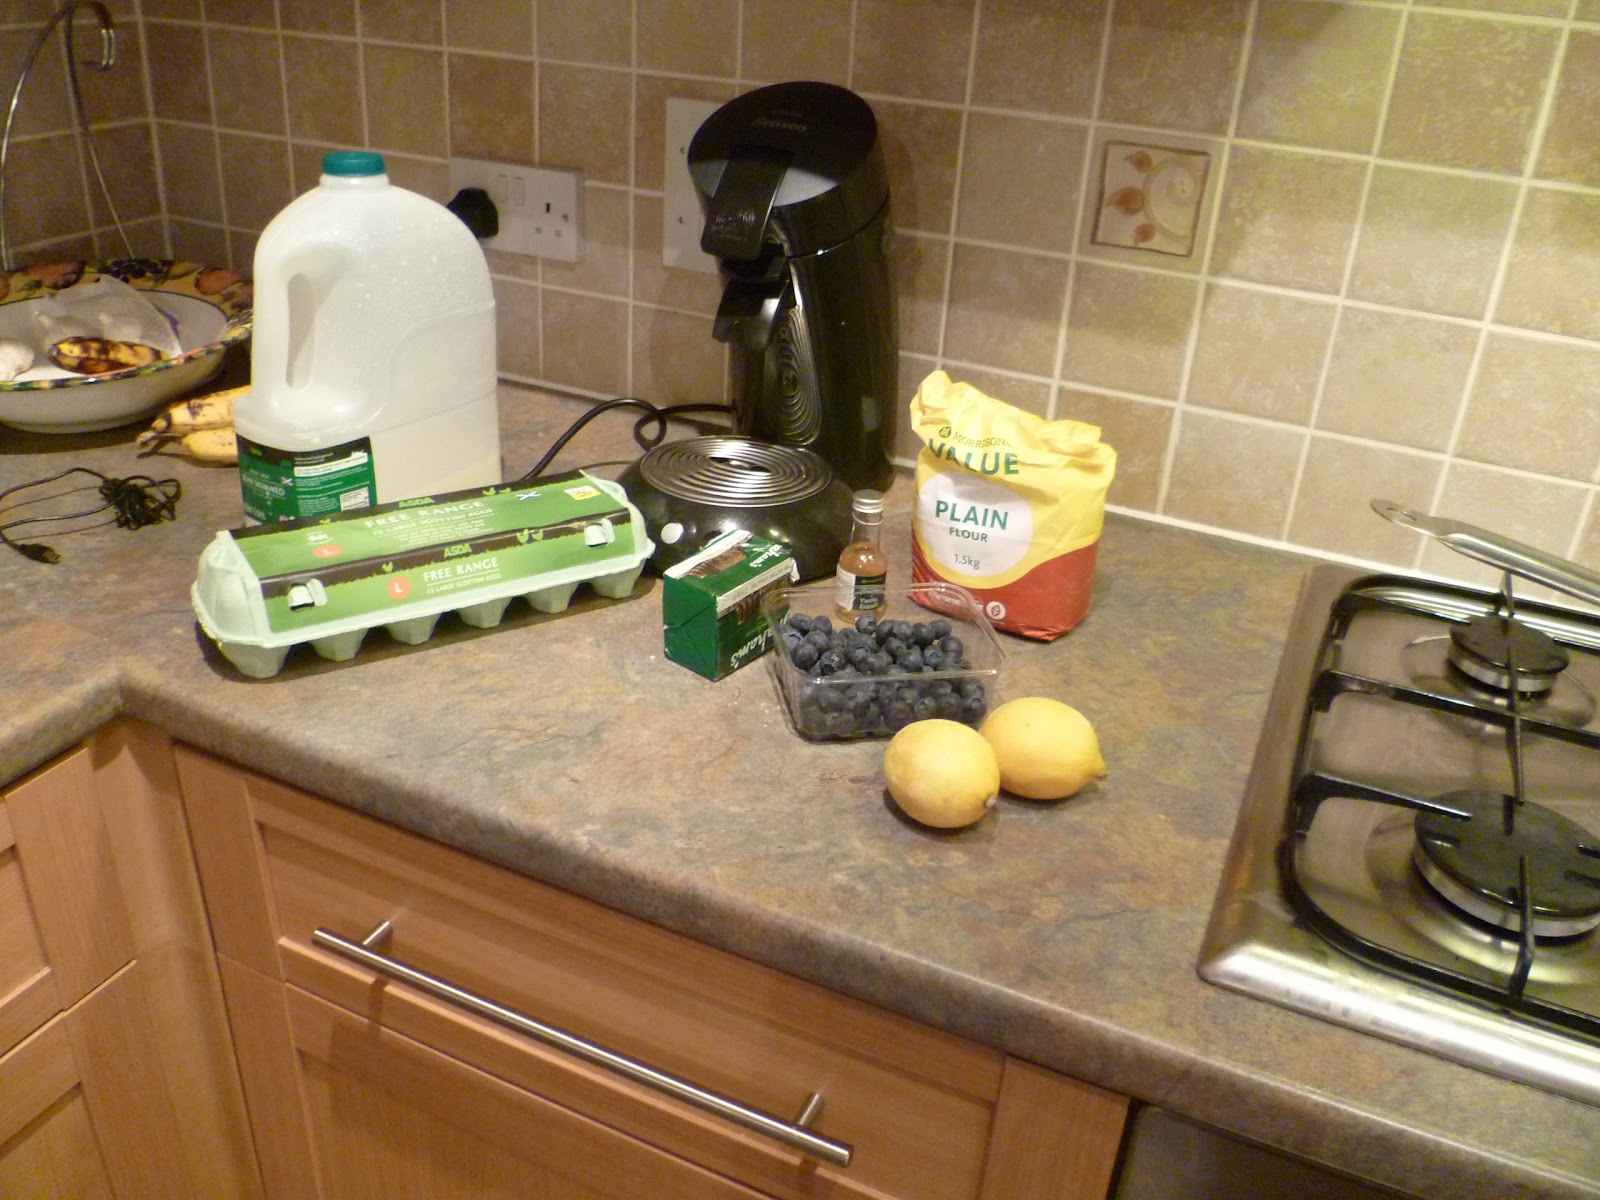
Does food ever seem to just stare at you every time you look in the fridge? There have been blueberries in the fridge for the last week or so, and after seeing them for one day too many, these muffins finally ended up in the oven.


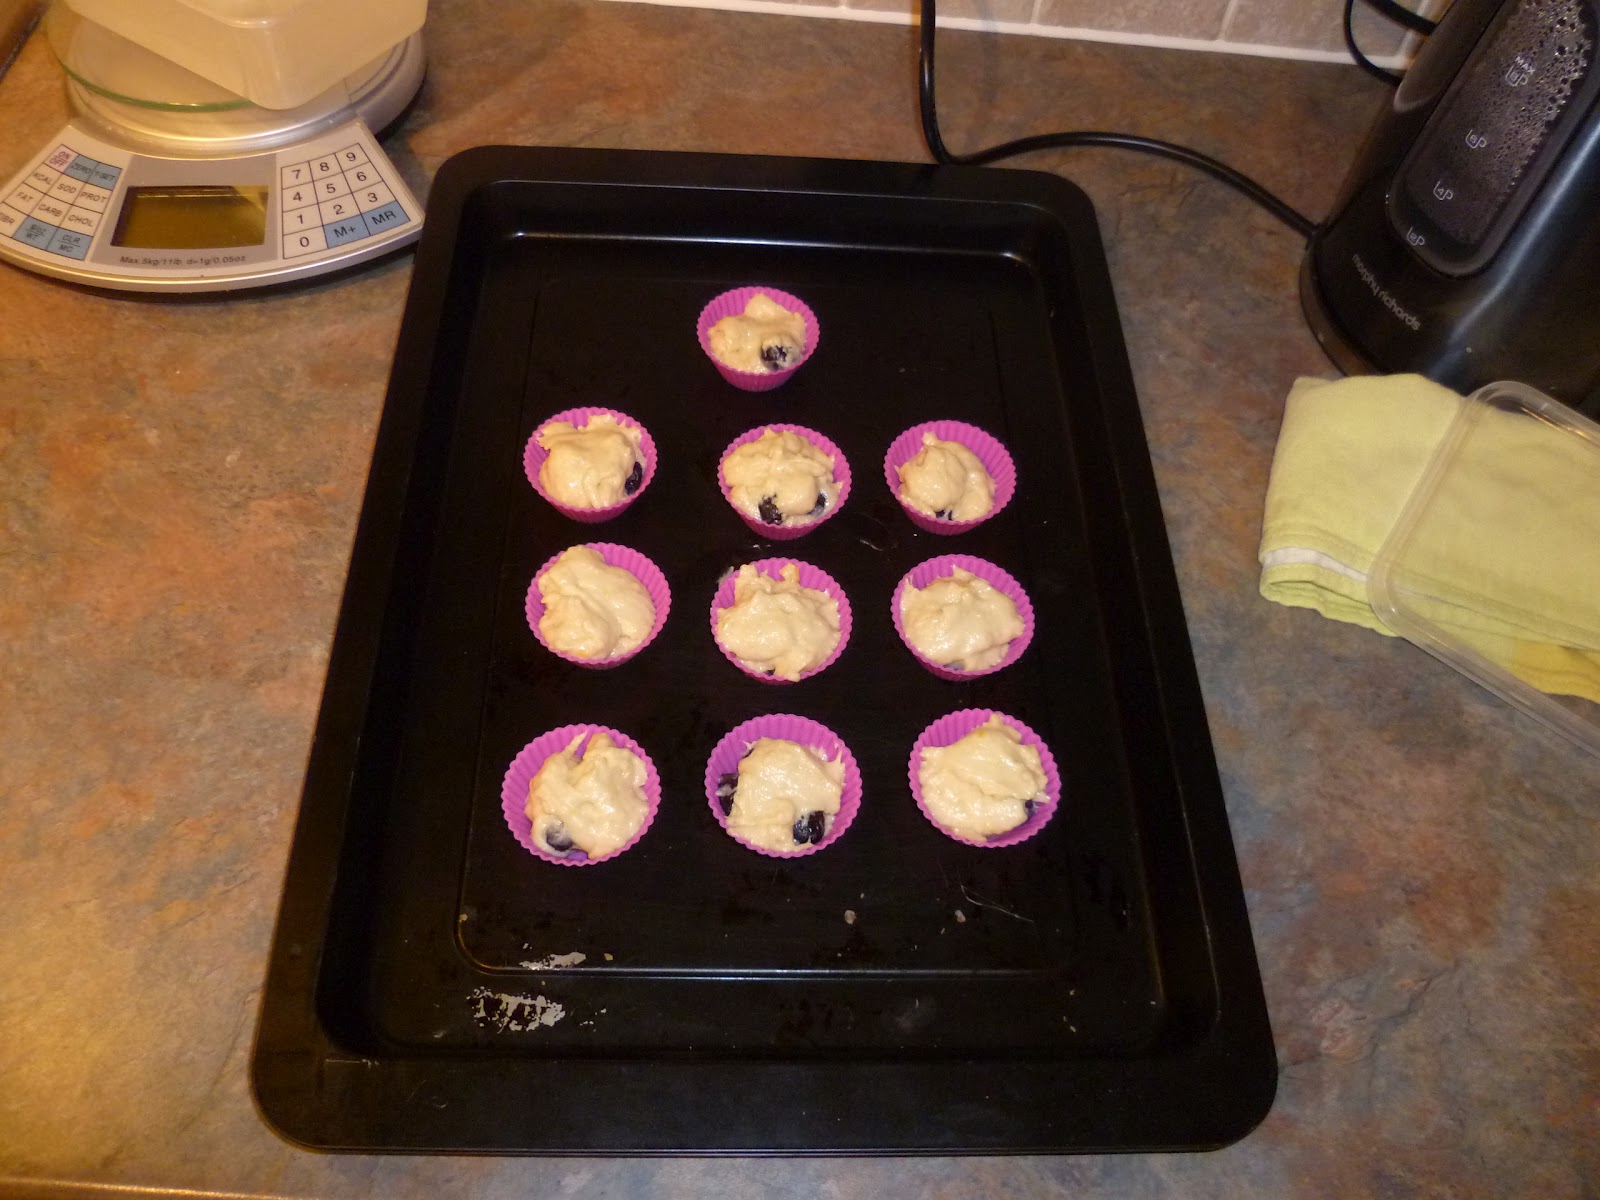
Despite the fact that they are not terribly uniform, due to my less-than-exemplary spooning-into-cases skills, the  bake was actually pretty reasonable, the rise was good and the blueberry flavour came through well.


However, I think that they could have done with more sugar, and perhaps the extra sweetness would make them a bit nicer. To be fair though, when they first came out of the oven, they were very nice, if a little tart, but the next day they were more like rocks than airy muffins.


On another note, the batter seemed to go on forever and I had enough to make some little ones (but they really were like pellets and/or bullets!)

From the crazy wee cupcake calendar thing which provides lovely pictures that are nothing like what mine ended up like...

Ingredients:
1/2 cup caster sugar
1 tbsp grated lemon zest (took roughly the zest of 1 lemon to get that much for me)
2 1/2 cups plain flour
1 tbsp baking powder
2 lightly beaten eggs
1 cup milk
1 stick unsalted butter, melted
1 tsp vanilla extract
2 cups fresh/thawed blueberries

1. Preheat the oven to 200.C and line a cupcake pan with cases.
2. Stir the sugar, lemon zest and baking powder with a spoon, in a medium bowl. Beat the eggs, milk and vanilla in a large bowl with an electric mixer until smooth, which takes about a minute. Add the dry ingredients to the eggs and stuff (technical term!) and stir until the blueberries are just combined.
3. Spoon the batter into the cases.
4. Bake in the oven for 20 minutes. Remove the tray from the oven and cool for 5 minutes.
5. Serve immediately (as they really really really don't keep that well).

According to the recipe, you can store them in an airtight container for up to 2 days, or freeze for up to 3 months, but I would take that little nugget of information with a pinch of salt ...

Tuesday, 3 January 2012

Vanilla cupcakes with orange

As a result of a multi-family cupcake baking contest, tonight's task was created. The initial plan was for lemon cupcakes, but that plan was dismissed before it had fully formed due to two things: 1) there were no lemons in the house and 2) there wasn't even enough lemon juice in the squeezy bottle to make a difference.

The fall-black plan was to use the afore-mentioned pitiful amount of squeezy lemon juice to make some lemon icing but once again, there was simply not enough.


Fortunately a new plan quickly took shape - simple but delicious vanilla cupcakes with orange flavoured (and potentially also coloured) icing. Furthermore, in order to allow for the varying degrees of 'icing acceptance' in my family, I used both normal icing and buttercream. Sometimes it's better to just put up with the extra faff than to try to field the disappointment later!


These were taken from Kate Shirazi's cupcake book, "Cupcake Magic"

To make 12 cupcakes:
110g (4oz)self-raising flour, sifted
110g (4oz)caster sugar, sifted
110g (4oz) margarine - I used butter instead
1 tsp baking powder
2 large eggs - I used 3 medium eggs, but I think that it might have been a little too eggy
1 tsp vanilla extract


  1. Preheat the oven to 160.C (or 325.F) 
  2. Simply mix all of the ingredients until the mixture is light and fluffy. 
  3. Pop heaped teaspoons of the mixture into the cupcake cases and bake in the oven for approximately 20 minutes. 
  4. Once out of the oven, place on a wire rack to cool.
For the buttercream, (for 12 cupcakes) combine 225g of icing sugar with 100g of (unsalted) butter, until it's light and fluffy. Then just add orange extract (or orange juice and zest, if you want to be really fancy) and combine. At this point, I always like to add some food colouring (too much yellow turns it orange, funnily enough!) as you can't go wrong with a bit of colour! 

If buttercream is not your thing then just go for some normal icing - adding orange extract to taste, and a liberal amount of food colouring, although too much has the potential for some garish, wholly hideous, eye-assaulting excitement - suit yourself basically! 

Enjoy!